Glass splashbacks, serving both a practical and aesthetic role in the kitchen, often require a makeover to maintain their appeal. This task, while seemingly daunting, is achievable with precision painting. An expertly painted splashback not only protects your walls from cooking splatters but also breathes new life into your kitchen’s design. This guide aims to walk you through each step of the process, ensuring that even beginners can achieve a stunning transformation. From choosing the right splashback to the final touches, we’ll cover everything you need to know for a successful makeover.
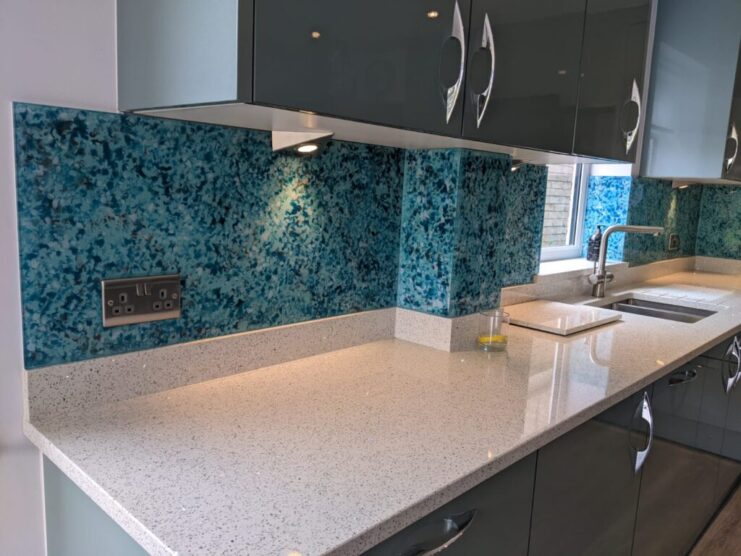
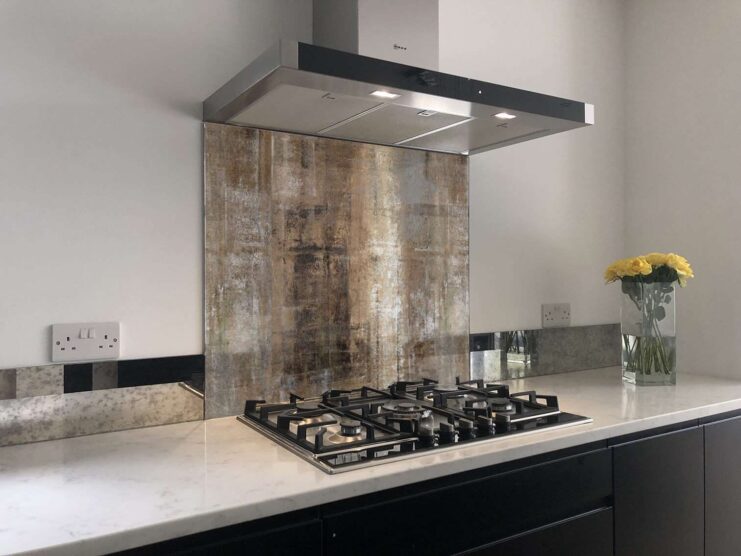
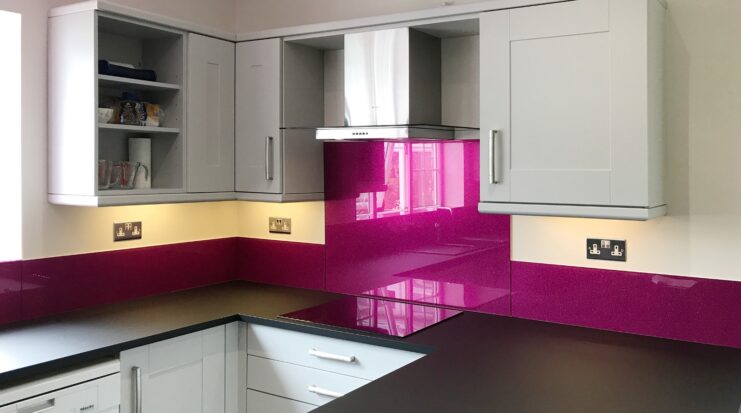
Choosing the Right Glass Splashback
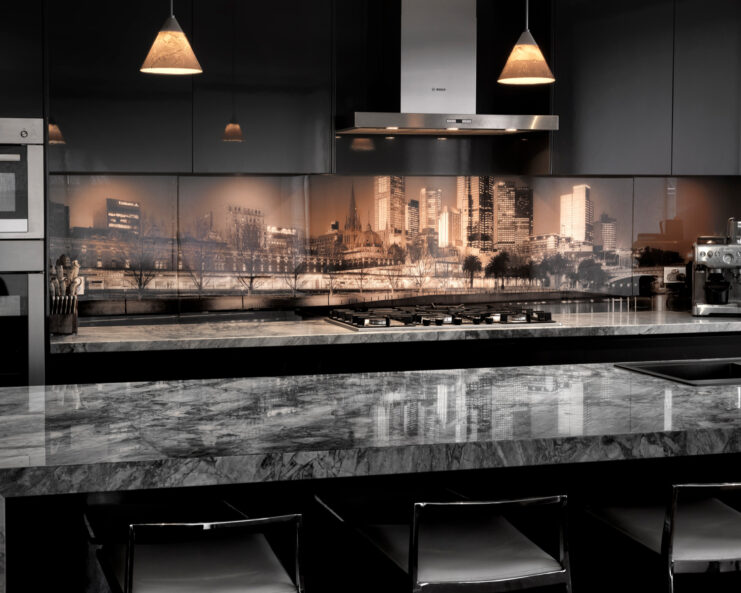
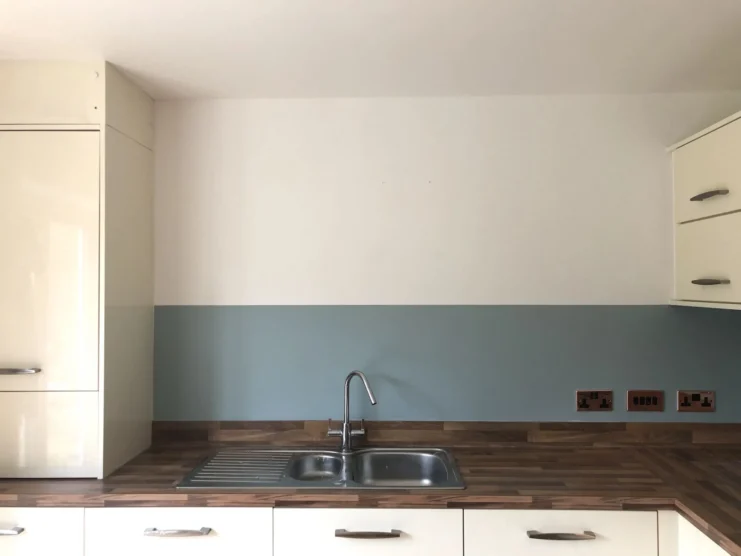
Choosing the right glass splashback, and directsplashbacks.com is the way to go, is more than just picking a color. It involves considering the kitchen’s overall design, the role of the splashback, and how it interacts with other elements like cabinets and countertops. Think about whether you want your splashback to stand out or blend in. Textured glass, for instance, can add depth, while a bold color can make it a focal point. Also, consider practical aspects like size and ease of cleaning. The right splashback should not only complement your kitchen’s aesthetic but also suit your lifestyle and cooking habits.
Preparing the Glass Surface
The key to a flawless paint job on a glass splashback is in the preparation. Start by clearing the area, removing any appliances or decorative items. Cleaning the surface is critical; any dust, grease, or residues can prevent paint from adhering properly. Use a high-quality glass cleaner or a mixture of vinegar and water for an eco-friendly option. Once clean, lightly sanding the surface with fine-grit sandpaper can help the primer and paint adhere better. Remember, thorough preparation is crucial for achieving a professional-looking finish that lasts.
Gathering the Necessary Supplies
For a successful glass splashback painting project, gathering the right supplies is crucial. You’ll need a high-quality paintbrush or roller specifically designed for smooth surfaces, paint that’s formulated for glass, a reliable primer, a degreaser or cleaner, masking tape, and protective gear like gloves and goggles. Additionally, consider getting a drop cloth to protect your countertops and floors. Selecting the right tools is not just about convenience; it’s about precision. Quality brushes and rollers ensure an even application, reducing the likelihood of streaks. Investing in the correct supplies from the outset is the foundation of a successful, professional-looking finish.
Cleaning and Degreasing
The next step is thoroughly cleaning and degreasing the glass. This process is essential for ensuring that the paint adheres properly and lasts long. Start by using a high-quality glass cleaner to remove any surface grime and fingerprints. Follow this with a degreaser, especially in areas prone to grease build-up like kitchens. After degreasing, it’s crucial to wipe down the surface with a lint-free cloth to remove any residual cleaner or particles. Even the smallest bit of residue or dust can cause imperfections in your paint job, so this step requires meticulous attention.
Masking and Protecting
Protecting the surrounding areas is vital to prevent paint spills and splatters. Use quality masking tape to cover the edges of the splashback. This not only helps in creating clean, sharp lines but also protects the adjacent tiles or walls. Cover countertops, cabinets, and any nearby appliances with a drop cloth or old newspapers. This protection step might seem time-consuming, but it’s essential for a hassle-free cleanup and to ensure your kitchen remains spotless, barring the splashback you’re focusing on.
Choosing the Right Paint
The right paint is crucial for a glass splashback makeover. Opt for specialized glass paints, which adhere better to glass surfaces and are resilient against kitchen elements like moisture and heat. Acrylic enamel paints are a popular choice. They’re durable, easy to clean, and come in a variety of colors and finishes, allowing you to match your kitchen’s theme or create a standout piece. Consider the finish – glossy paints reflect light and make spaces feel larger, while matte finishes offer a more understated look. Remember, the color and finish you choose can significantly affect the overall ambience of your kitchen.
Applying Primer
Primer is an essential step in ensuring paint adherence and longevity. Use a high-quality primer formulated for glass surfaces. Apply it evenly with a brush or roller, ensuring full coverage without overloading the surface. This layer acts as a medium that bridges the glass and paint, creating a bond that helps the paint stick better and last longer. It also provides a uniform base that enhances the true color of the paint. Allow the primer to dry as per the instructions; this might take a few hours. A well-applied primer can make the difference between a paint job that looks professional and one that looks amateurish.
Painting Techniques
Mastering the right painting technique is key to a flawless finish. When painting, apply thin, even layers. This prevents drips and streaks, ensuring a smooth finish. If using a brush, opt for a high-quality, soft-bristled brush for a smoother application. When using a roller, choose a small, foam roller to minimize texture and air bubbles. Start from one end and move steadily to the other, maintaining a wet edge to avoid overlap marks. Depending on the opacity of the paint, you might need multiple coats. Ensure each coat is completely dry before applying the next to avoid tackiness and peeling.
Drying and Curing
The drying and curing process is critical for a durable finish. After painting, allow the splashback to dry undisturbed. The drying time can vary based on the paint type and environmental conditions like humidity and temperature. Curing time is generally longer, sometimes up to a few days. This period allows the paint to harden fully and adhere to the glass surface. Avoid rushing this step; a fully cured paint surface is more resistant to scratches, peeling, and heat damage, ensuring your splashback remains beautiful for years.
Removing Masking and Cleanup
Once the paint is fully dry and cured, carefully remove the masking tape. Do this slowly and at a 45-degree angle to avoid peeling off any paint. Inspect the edges for any touch-ups. Cleanup is also crucial. Clean your brushes, rollers, and other tools with appropriate cleaners immediately after use. Proper maintenance of your tools ensures they remain in good condition for future projects. Dispose of any used materials like tape or drop cloths responsibly.
Maintenance and Longevity
Maintaining your newly painted glass splashback is essential for longevity. Clean it regularly using a soft cloth and non-abrasive cleaners. Avoid harsh chemicals that can damage the paint surface. If scratches or chips occur over time, touch up the area with the same paint. Regular maintenance not only keeps the splashback looking fresh but also extends its lifespan, ensuring that your kitchen remains as vibrant and welcoming as on the first day.
Conclusion
A precisely painted glass splashback is more than just a kitchen upgrade; it’s a reflection of your style and attention to detail. By choosing the right paint, applying primer correctly, mastering painting techniques, and ensuring proper drying and curing, you can achieve a stunning and long-lasting result. Remember, the key to a successful glass splashback makeover lies in the preparation, the process, and the patience you put into it. With these tips, your kitchen will boast a splashback that is not only functional but also a piece of art.