In today’s homes, a well-functioning shower is not just a convenience; it’s a necessity. Proper installation of shower plumbing is critical to ensure efficiency, longevity, and the avoidance of leaks that can lead to costly repairs. This article is designed to arm do-it-yourselfers with essential tips to tackle the task of installing shower plumbing.
Whether you’re renovating an existing bathroom or working on a new construction, the guidance provided here will help ensure your project is successful from start to finish.
Safety First

Before embarking on any plumbing project, prioritizing safety is paramount. Plumbing can involve sharp tools, high water pressure, and materials that require careful handling. It’s essential to wear safety goggles to protect your eyes from flying debris, gloves to shield your hands from cuts and abrasions, and appropriate clothing to avoid any unnecessary exposure to harmful materials. Preparing a well-ventilated workspace and knowing the location of the main water shut-off valve are also crucial steps to ensure your plumbing project is not only successful but safe.
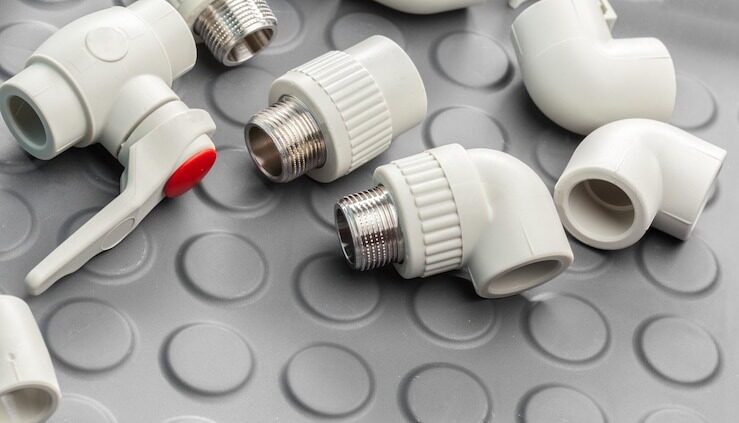
Gather Tools and Materials
A successful DIY plumbing project starts with having the right tools and materials at hand. You will need a variety of tools, including pipe wrenches for tightening and loosening pipes, a hacksaw or pipe cutter for cutting PVC or copper pipes, Teflon tape for sealing threaded joints, and silicone sealant for waterproofing connections.
Materials such as PVC or copper pipes, fittings, elbows, and connectors are essential for creating a new shower plumbing system. Having everything you need before you start will save time and help avoid interruptions once you begin.
Turn Off Water Supply
The first step in any plumbing project is to ensure the water supply is turned off to avoid flooding. Locate the main water valve for your home, which is typically found in the basement or outside near the street, and turn it to the off position. This action will stop water flow to your bathroom and allow you to work on the plumbing without the risk of water damage.
Once the water is off, open a faucet at a lower level in your home to relieve any remaining pressure in the pipes. Things can get tricky when dealing with water supply and when it comes to this you should seek professional help and PPPlumbers can help in this domain.
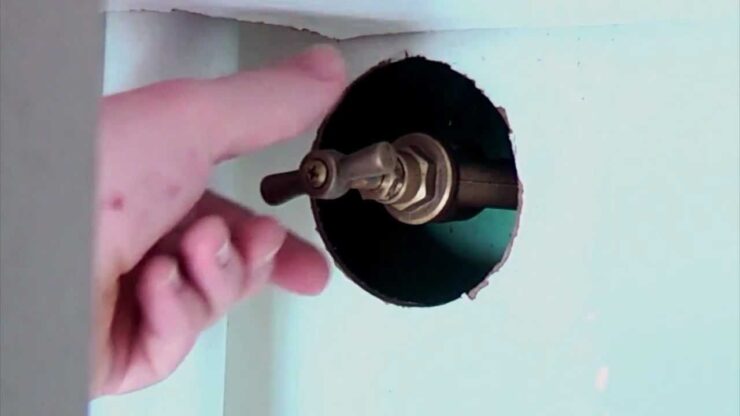
Remove Existing Plumbing
Removing old plumbing fixtures and pipes is necessary when installing new shower plumbing. Using a pipe cutter or a hacksaw, carefully cut through the old pipes, taking care not to damage surrounding structures. A wrench will be helpful in loosening and removing old fittings and fixtures. This step requires patience and precision, as you want to ensure a clean removal to facilitate the easy installation of new plumbing components.
Measure and Cut Pipes
Accurate measurement and cutting of pipes are critical to creating a seamless and leak-free plumbing system. Measure the required lengths of pipes carefully, considering the route they will take and any fixtures they will connect to.
Use a marker to indicate where cuts should be made. When cutting, ensure the cuts are straight and clean to provide the best possible fit. A deburring tool can be used to smooth the edges of cut pipes, reducing the risk of leaks at connections.
Install New Pipes
Installing new pipes involves connecting lengths of pipe with fittings and connectors to create a path from the water supply to the shower. Begin by dry-fitting the pipes and connectors to ensure a correct fit before permanently securing them.
Apply Teflon tape to the threads of connections to ensure a watertight seal. For PVC pipes, use a PVC primer and cement to bond the pipes and fittings together. Ensure all connections are tight and secure to prevent leaks.
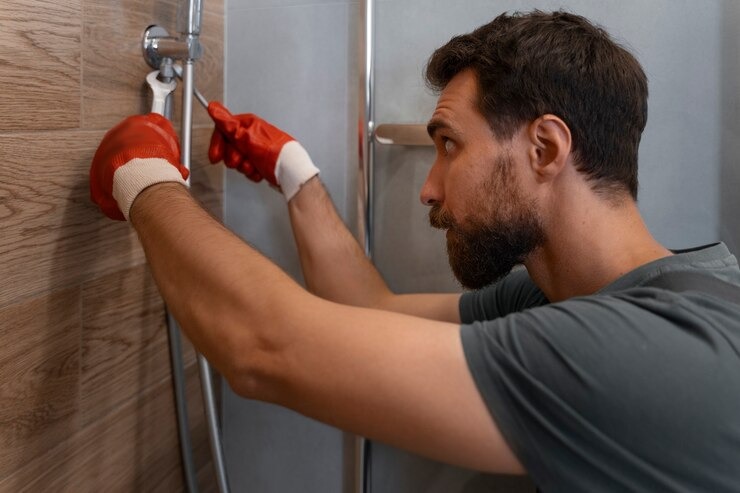
Seal Joints and Connections
Ensuring all joints and connections are sealed properly is crucial to prevent water leakage. Apply Teflon tape to threaded joints to create a waterproof seal. Silicone sealant should be used at connections that require a flexible, waterproof seal, such as where the shower base meets the plumbing. Allow the sealant to cure fully according to the manufacturer’s instructions before testing the plumbing for leaks.
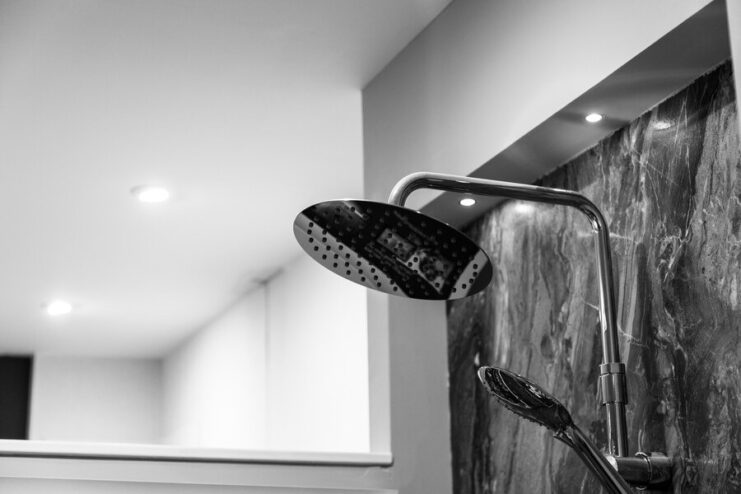
Install Shower Fixture
The installation of the showerhead and faucet is a task that requires attention to detail. Follow the manufacturer’s instructions for assembly and installation. Use Teflon tape on the threads of the shower arm and faucet to prevent leaks.
Tighten connections securely, but be careful not to overtighten, which can damage the fittings. Ensure the fixtures are aligned correctly and securely mounted to avoid any movement or leakage.
Test for Leaks
Testing your plumbing for leaks is a critical step before finalizing the installation. Turn the main water supply back on and observe the newly installed plumbing for any signs of leaks. Check all connections and joints closely.
If any leaks are detected, turn off the water supply again, tighten the connections, or apply additional sealant as needed. Testing thoroughly at this stage can save a great deal of trouble later on.
Clean Up and Final Check
After testing for leaks and ensuring all connections are secure, clean up your work area. Dispose of old plumbing materials responsibly. Conduct a final inspection of the installation to ensure everything is in order.
Test the shower to verify that it operates correctly and efficiently. This final check is your assurance that the project is complete and the installation is successful.
Conclusion
Installing shower plumbing can be a rewarding DIY project if approached with the right knowledge, tools, and safety precautions. Following the essential tips outlined in this article will help ensure a successful installation. Proper preparation, precise measurement, and careful installation are key to creating a functional and leak-free shower plumbing system.
With these guidelines, readers are equipped to confidently and safely undertake their DIY shower plumbing projects, leading to a sense of accomplishment and the enjoyment of a well-functioning shower for years to come.