Removing tiles from concrete floors can be a daunting task, but with the right techniques and safety measures, it becomes a manageable DIY project.
In this guide, we’ll walk you through the essential steps of tile removal, highlighting the importance of proper techniques and sharing pro tips to ensure a successful outcome.
Safety First
Before you embark on any tile removal project, prioritize safety. Equip yourself with the necessary safety gear, including gloves, goggles, and a dust mask. These items are crucial for protecting yourself from potential hazards during the removal process.
Tile removal can create sharp debris and dust that can be harmful to your eyes, skin, and respiratory system. Always ensure you’re adequately protected before starting the project.
Gather Your Tools
Having the right tools at your disposal is key to efficient tile removal. Essential tools include a hammer, chisel, pry bar, and scraper. These will aid in loosening and removing the tiles effectively. For larger projects or if you want to speed up the process, consider using a floor scraper machine.
While it’s an optional tool, it can significantly simplify tile removal on expansive surfaces.
Preparing the Work Area
To facilitate smooth tile removal, prepare the work area beforehand. Remove all furniture and obstacles from the space to create a clear working environment. This not only makes the task easier but also reduces the risk of accidents.
Additionally, protect adjacent surfaces and walls from potential damage during the removal process. Use materials like drop cloths or cardboard to shield these areas from debris and tools.
If you’re having issues with any of the steps both those above and below don’t be shy to contact experts from https://ctmiddletowntileinstallers.com/.
Assessing Tile Type
Identifying the type of tiles you’re dealing with is essential, as it can influence your removal technique. Common tile types include ceramic, porcelain, and others. Ceramic tiles are generally easier to remove, while porcelain tiles may require more effort due to their durability.
Assessing the tile type allows you to choose the most suitable approach and tools for the job, ensuring efficient removal without unnecessary complications.
Removing Grout
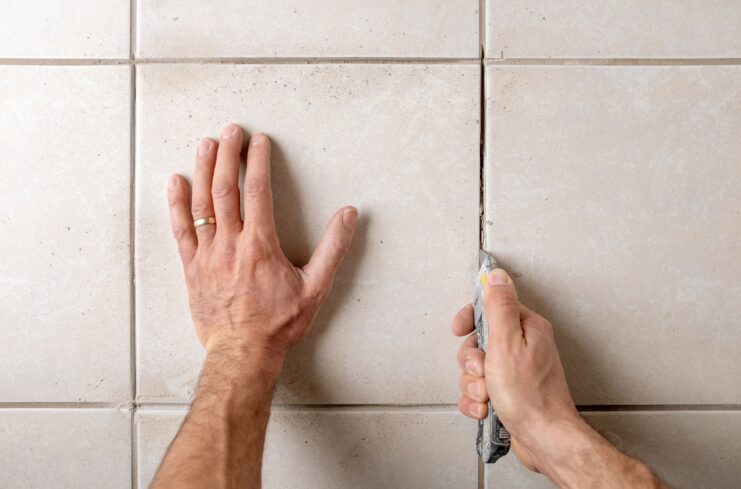
Before tackling the tiles themselves, start by removing the grout that holds them in place. Grout removal is a crucial step in the process. You can use a grout saw or a rotary tool with a grout removal attachment for this task.
Carefully work on the grout lines to loosen and clear away the grout material. This step prepares the tiles for easier removal, as it reduces the adhesive bond between the tiles and the concrete floor. Be patient and thorough when removing grout, as it sets the foundation for the rest of the project.
Starting the Tile Removal
Starting the process of tile removal requires precision and caution. Begin by using a utility knife to cut through the grout lines surrounding the tiles. This creates a starting point for tile removal and minimizes the risk of damaging the underlying concrete.
It’s crucial to wear appropriate safety gear during this phase, including safety goggles to protect your eyes from flying debris and a dust mask to prevent inhaling dust particles. Gloves will also provide added protection for your hands. Taking these safety precautions ensures a safe and comfortable tile removal experience.
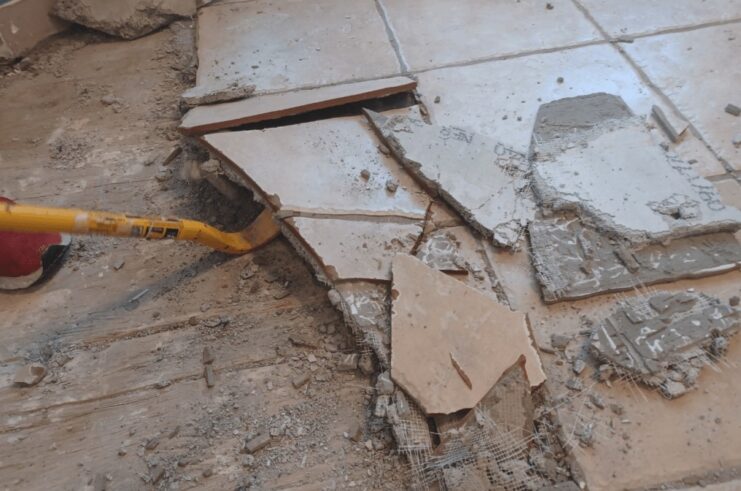
Chiseling and Prying
Chiseling and prying are the core techniques for removing tiles from concrete. To start, use a chisel or putty knife to carefully lift one corner of a tile. Apply even pressure to avoid damaging the concrete beneath.
Once a corner is lifted, use a flat-headed chisel to gently tap and loosen the tile. Gradually work your way under the tile, applying controlled force. If any adhesive remains on the concrete, scrape it off using the chisel or a scraper tool.
It’s essential to maintain a steady hand and take your time to prevent unnecessary damage to the concrete surface.
Handling Stubborn Tiles
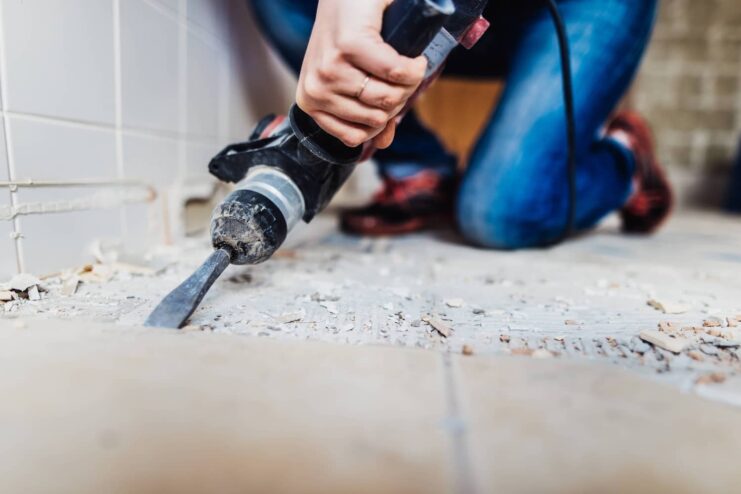
Encountering stubborn or difficult-to-remove tiles is common during the removal process. In such cases, consider alternative methods to ease the removal. One effective technique is heating. Use a heat gun to warm the tile and soften the adhesive underneath.
This makes it easier to pry the tile away from the concrete. Another option is using a tile removal machine, which can efficiently remove stubborn tiles with less manual effort.
These methods can be especially helpful when dealing with older or heavily glued tiles, ensuring a smoother removal process.
Cleanup and Surface Preparation
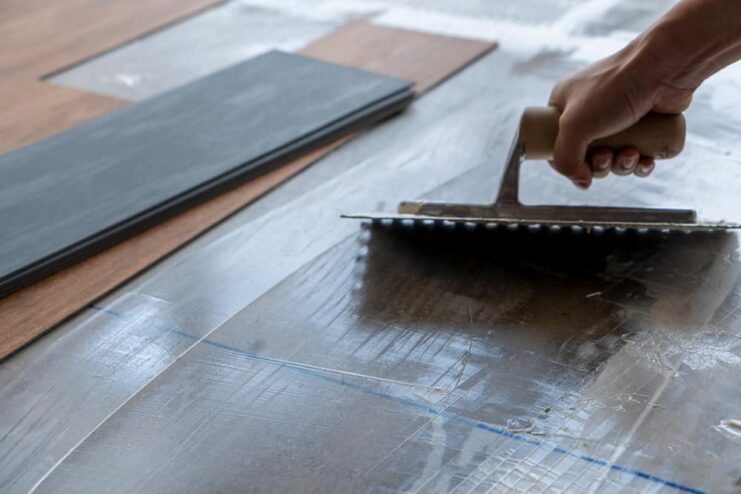
After successfully removing the tiles, it’s crucial to dedicate time to thorough cleanup. Remove any remaining adhesive, grout, or debris from the concrete surface. A scraper or putty knife can be handy for this task.
Once the surface is clean, it’s essential to prepare it for the installation of new flooring. Fill any cracks or irregularities in the concrete with a leveling compound to ensure a smooth and even surface.
Additionally, consider applying a concrete primer to enhance the adhesion of the new flooring material. Proper cleanup and surface preparation are key to a successful flooring replacement project.
Disposal of Materials
Proper disposal of removed tiles and debris is not only responsible but also necessary. To dispose of these materials, place them in heavy-duty trash bags, ensuring they are securely sealed to prevent any sharp edges from protruding.
Check with your local waste disposal regulations to determine the appropriate disposal method. Some areas may allow for disposal in regular trash bins, while others may require a trip to a designated disposal facility.
For eco-conscious DIYers, consider recycling options for tiles and materials if available in your area. Recycling helps reduce waste and contributes to a more sustainable approach to home improvement projects.
Final Thoughts and Maintenance

In conclusion, successfully removing tiles from concrete requires careful planning, patience, and the right techniques. Starting with a precise initial cut in the grout lines and wearing proper safety gear is essential. Chiseling and prying tiles should be done with care to avoid damaging the concrete surface.
When faced with stubborn tiles, explore heating or consider using a tile removal machine. After removal, thorough cleanup and surface preparation are crucial for the next flooring installation.
Proper disposal of materials in accordance with local regulations is a responsible step. Finally, maintain the concrete surface to ensure it’s ready for the next flooring project.
By following these steps and taking precautions, you can achieve a smooth and successful DIY tile removal experience while preserving the integrity of your concrete floor.